Sew you wanna line your fat bottom (bag)? Fat Bottom Bag Lining
Like the title?? It makes me giggle :)
I made a picture tutorial for a simple way to line the Fat Bottom Bag from SnB: HH. I used this method for my first bag and it turned out amazingly perfect, much to my surprise. The bag is lined before you start the handle flaps. I cannot stress the before enough. When you start the handle flaps, the bag will be gathered at the handles and it is very difficult to line a bag that is gathered.
Materials Needed:
measuring tape
scissors
fabric for lining
sewing thread to match yarn
pins
needle for handsewing or sewing machine for machine sewing
So to start, finish your Fat Bottom Bag body portion and weave in all ends before you begin. The body will not lay completely flat. Due to gauge and yarn differences, I will not be adding measurements for the lining but will show how to find your measurements.
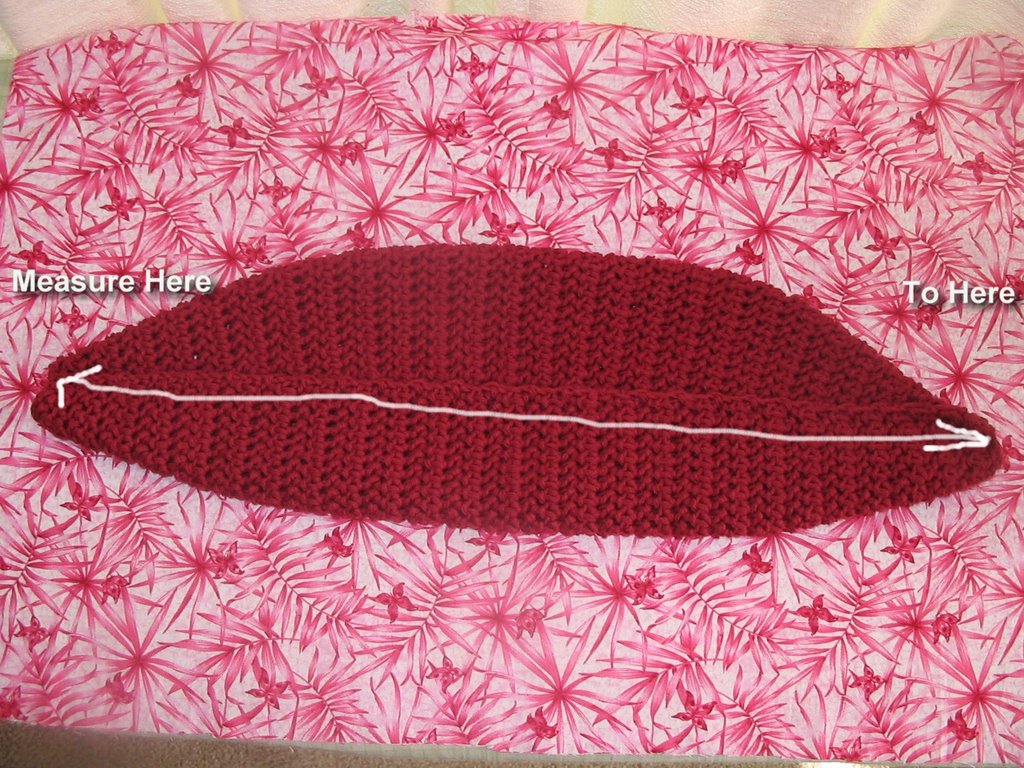
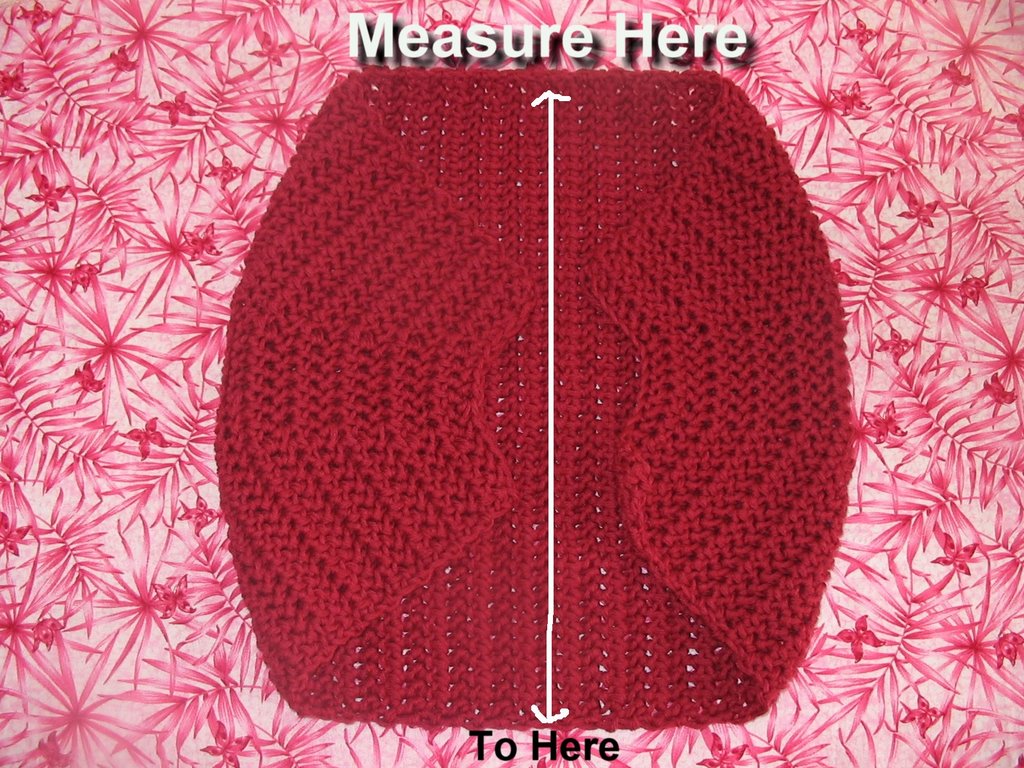
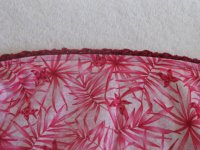
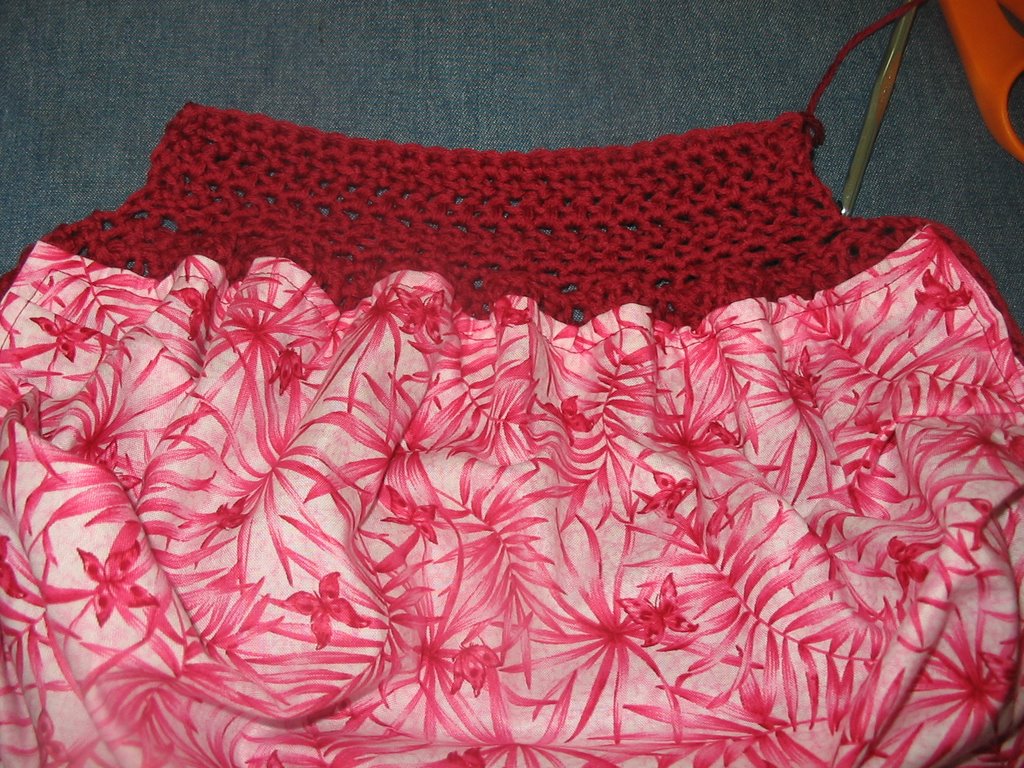
- The widest portions will need to be measured. Folding like shown in the below pictures will help body lay flat for the areas that need measuring.
A. B.
B. 
- Add 1/4 inch to these measurements for seam allowances. This lining will be a rectangle shape so no tracing is needed to fit the bag.
- Cut lining to fit the measurements..remember to add the 1/4 inch before you cut.
- Fold and press all four sides over 1/2 inch. (Not a typo, 1/2 inch because of spacing)

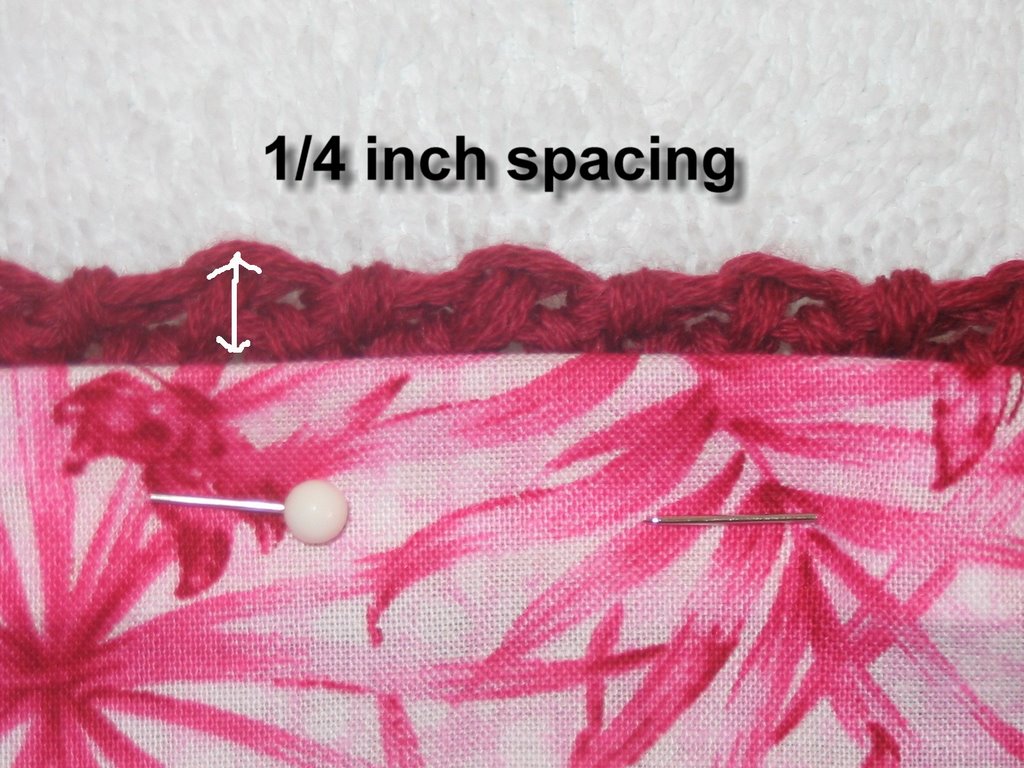
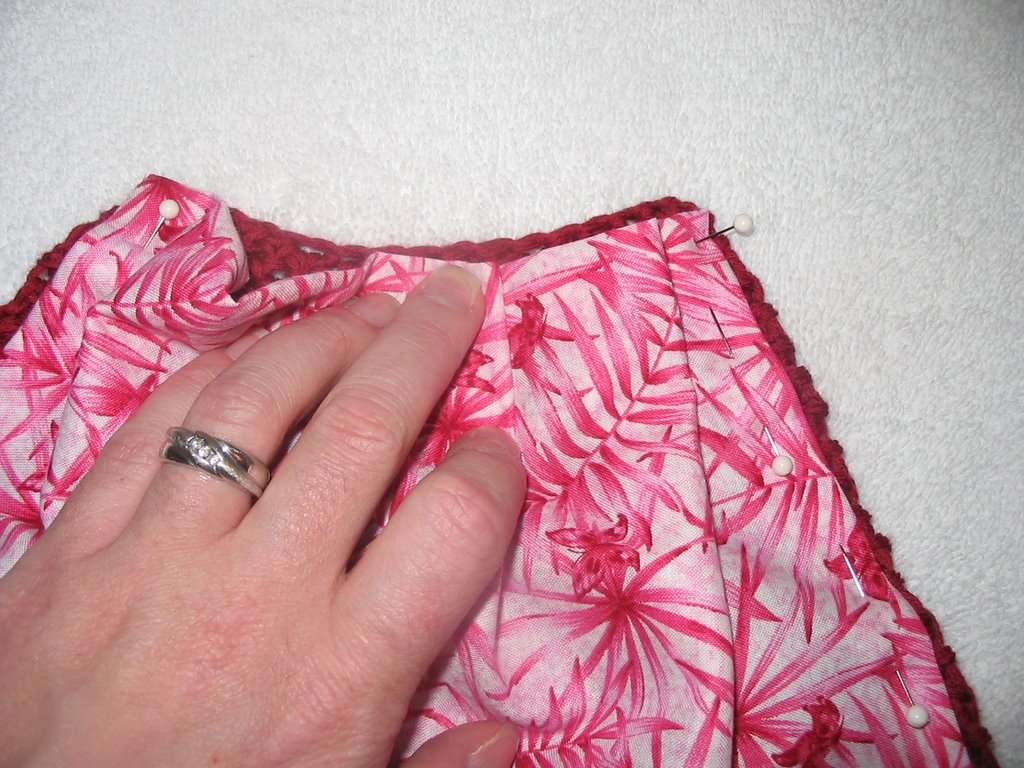
- Now is the fun part pinning the lining into place. Start with length sides (A.) first. Find the center and starting pinning, leaving 1/4 inch from the top or enough spacing between the lining and edge so you will have loops to crochet into. (the 1/4 spacing should go all the around the bag for uniformity.)

- After both length edges are pinned, it should look a bit like this


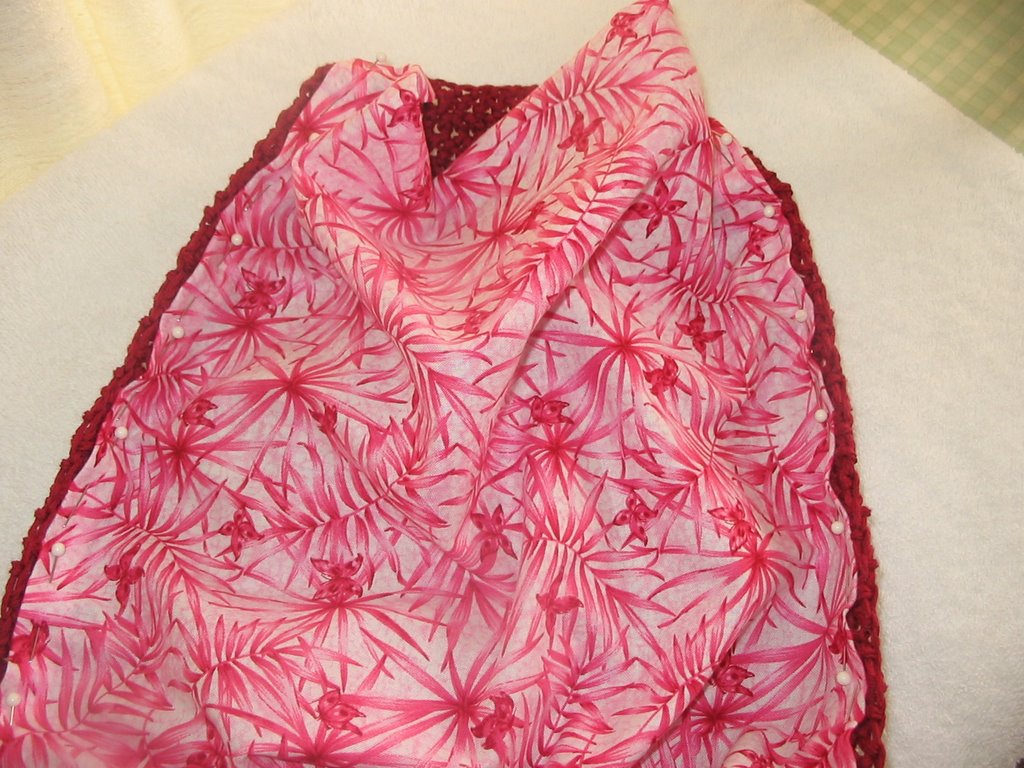
**The sides will have extra fabric, that is the way it needs to be. It will allow 100% usage for the bag space. With this method you will not end up with a short lining therefore will not rob the bag of valuable space.**
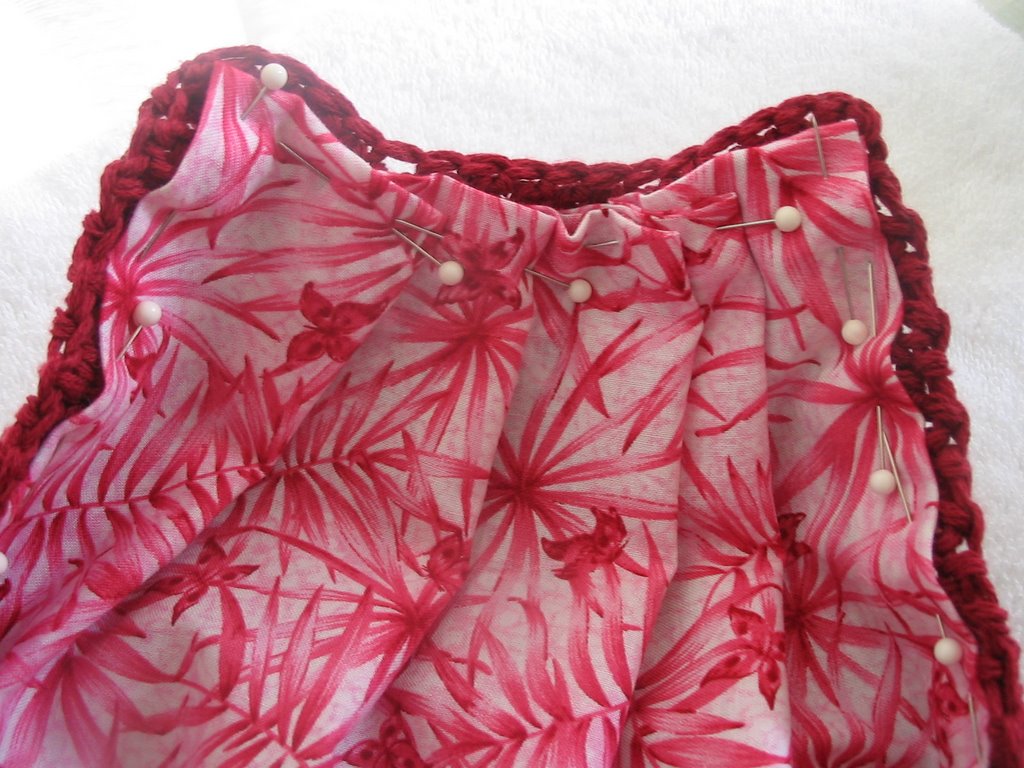
- Gather the extra fabric to form pleads (folding the fabric over onto itself) at the sides.

- 3-5 pleads should be plenty. Pin pleads down. When completed, both sides should look like this.

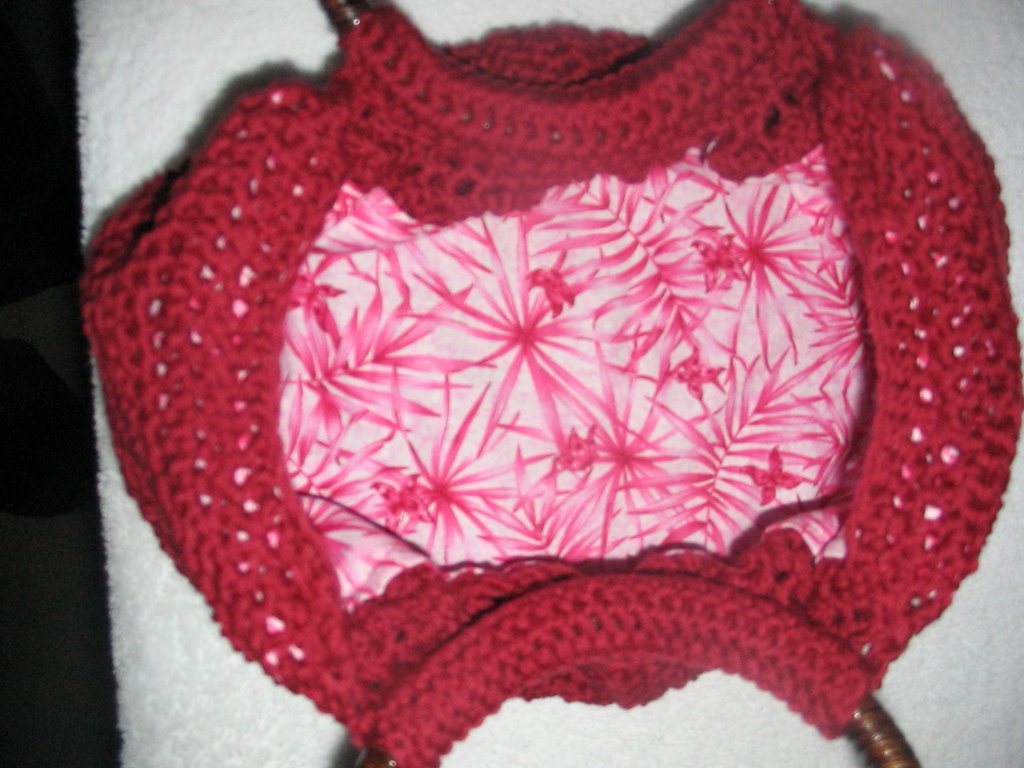
- After all four sides are pinned down, this is what it should look like. The body will not lay flat but will curve into a bowl shape.

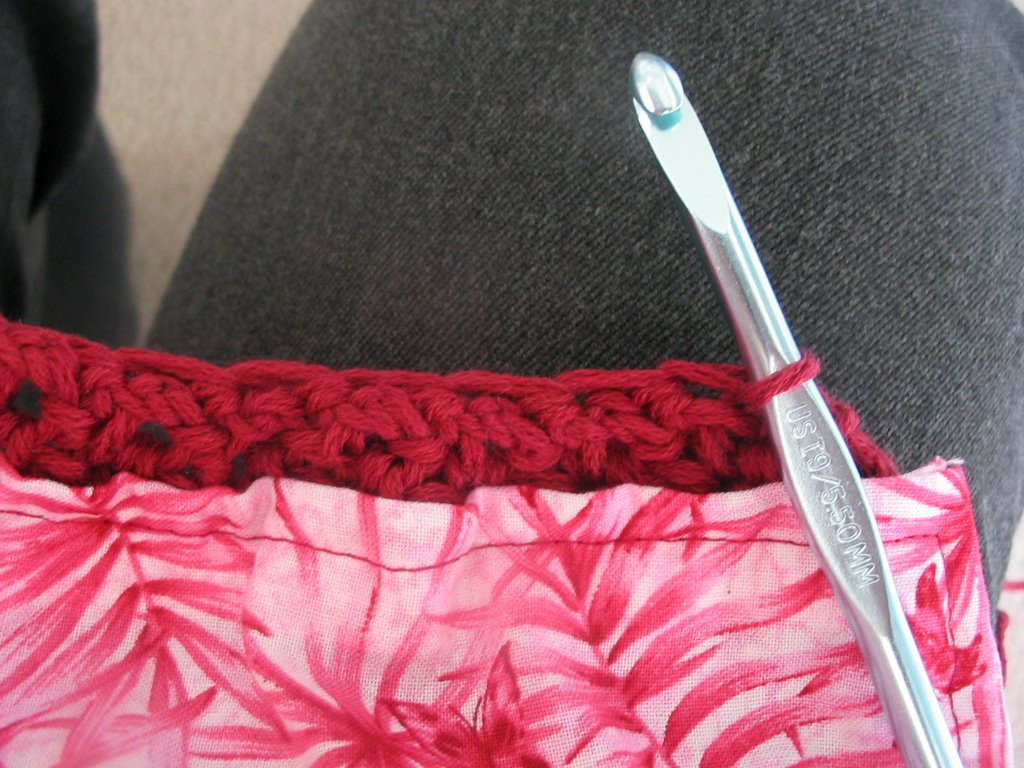
- Now you are ready to sew the lining into place. Using a machine or sewing by hand are both effective for this task, whatever you prefer.
- Handsewn with a whip stitch
 This is the first Fat bottom bag I made and lined.
 - Machine sewn
- After the sewing is done. Move onto the handle flaps per directions in pattern.


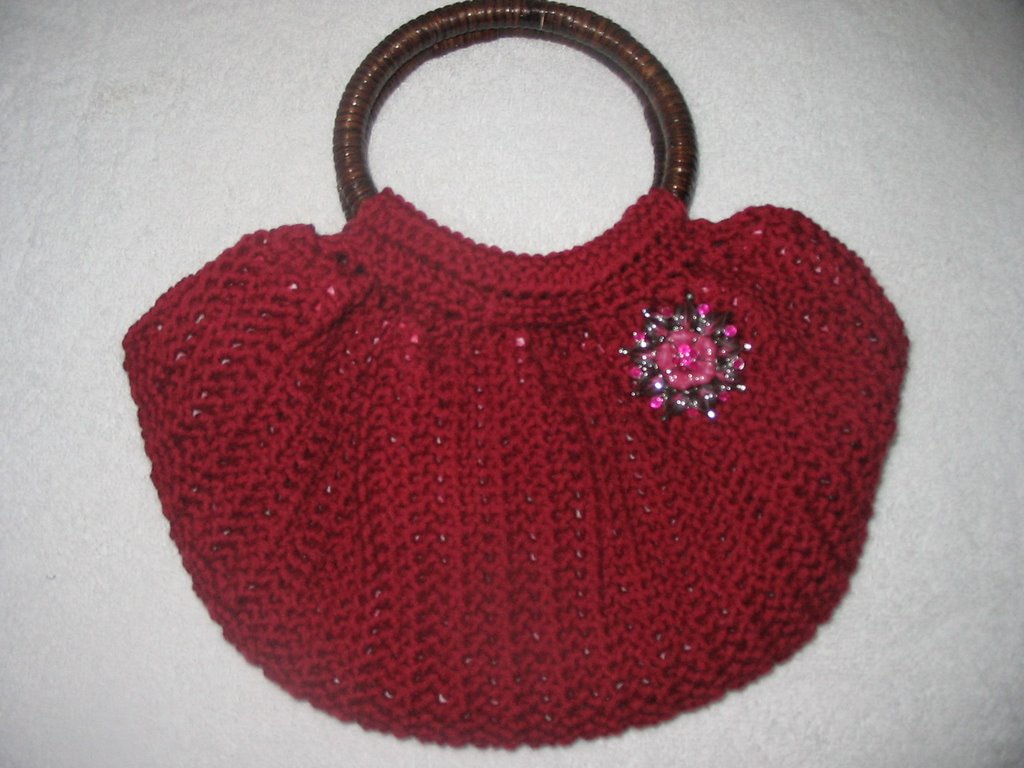
- Finish the bag as directed in pattern and you should end up with


If there are any questions or comments, if I can make anything more clear, please let me know.
Email me crochet_kel(AT)yahoo(DOT)com or comment here. I don't actively use that email address anymore.
If you are on Ravelry.com .....I am kelcrochets there and I go there daily, so much quicker response from me on ravelry.
Copyrighted 2006
Posted by Kel
at 10/04/2006 07:32:00 PM |
Permalink to Sew you wanna line your fat bottom (bag)? Fat Bottom Bag Lining |
33 Comments |